...
If you have already installed and launched the VR application on your Quest, please continue on to the Connect VR to the Hub page.
...
Step One:
...
| Expand | ||||
|---|---|---|---|---|
| ||||
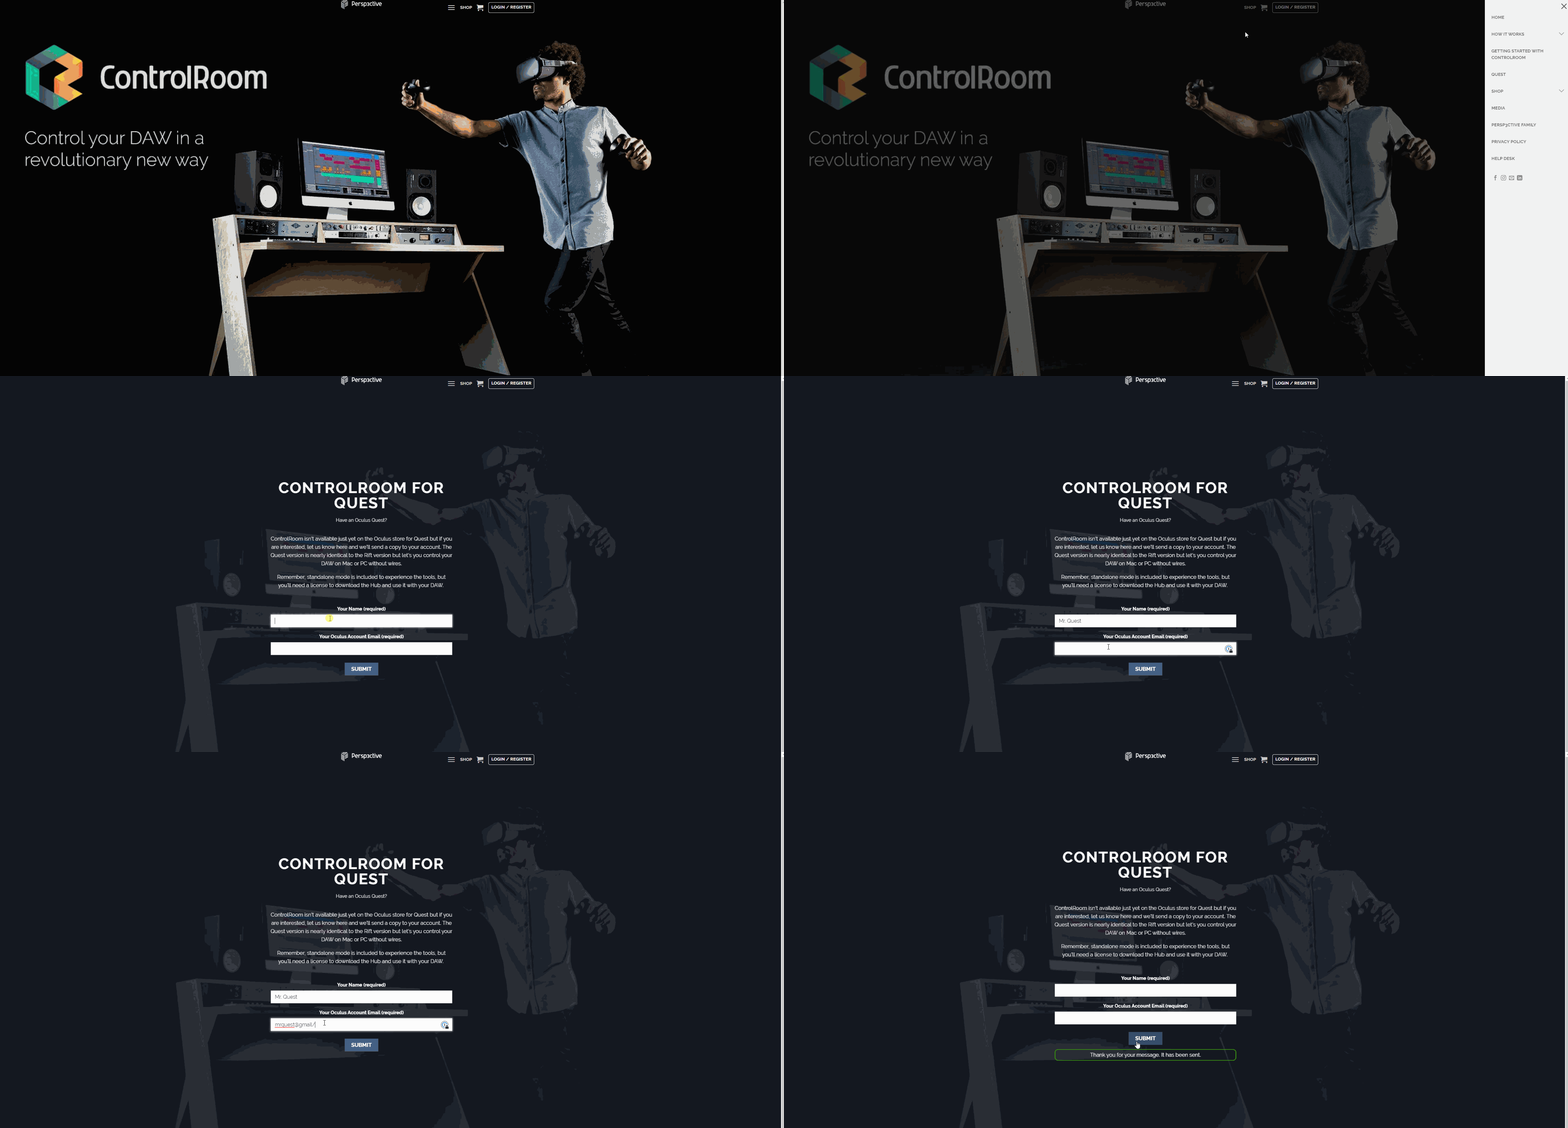
A: If you haven’t already, go to the Persp3ctive website and request a copy of ControlRoom for Quest. Please only make this request once.
|
...
Purchase
Click this link to purchase ControlRoom for Oculus Quest.
Step Two: Submit your Oculus account email
Immediately after purchasing ControlRoom for Oculus Quest, you will receive an email containing a link to submit your Oculus account email. Click this link to have ControlRoom added to your Oculus Quest Library.
| Info |
|---|
After submitting, ControlRoom will be added to your Quest Library within one business day. |
Step Three: Accept Oculus Release Channel Request
| Expand | ||
|---|---|---|
| ||
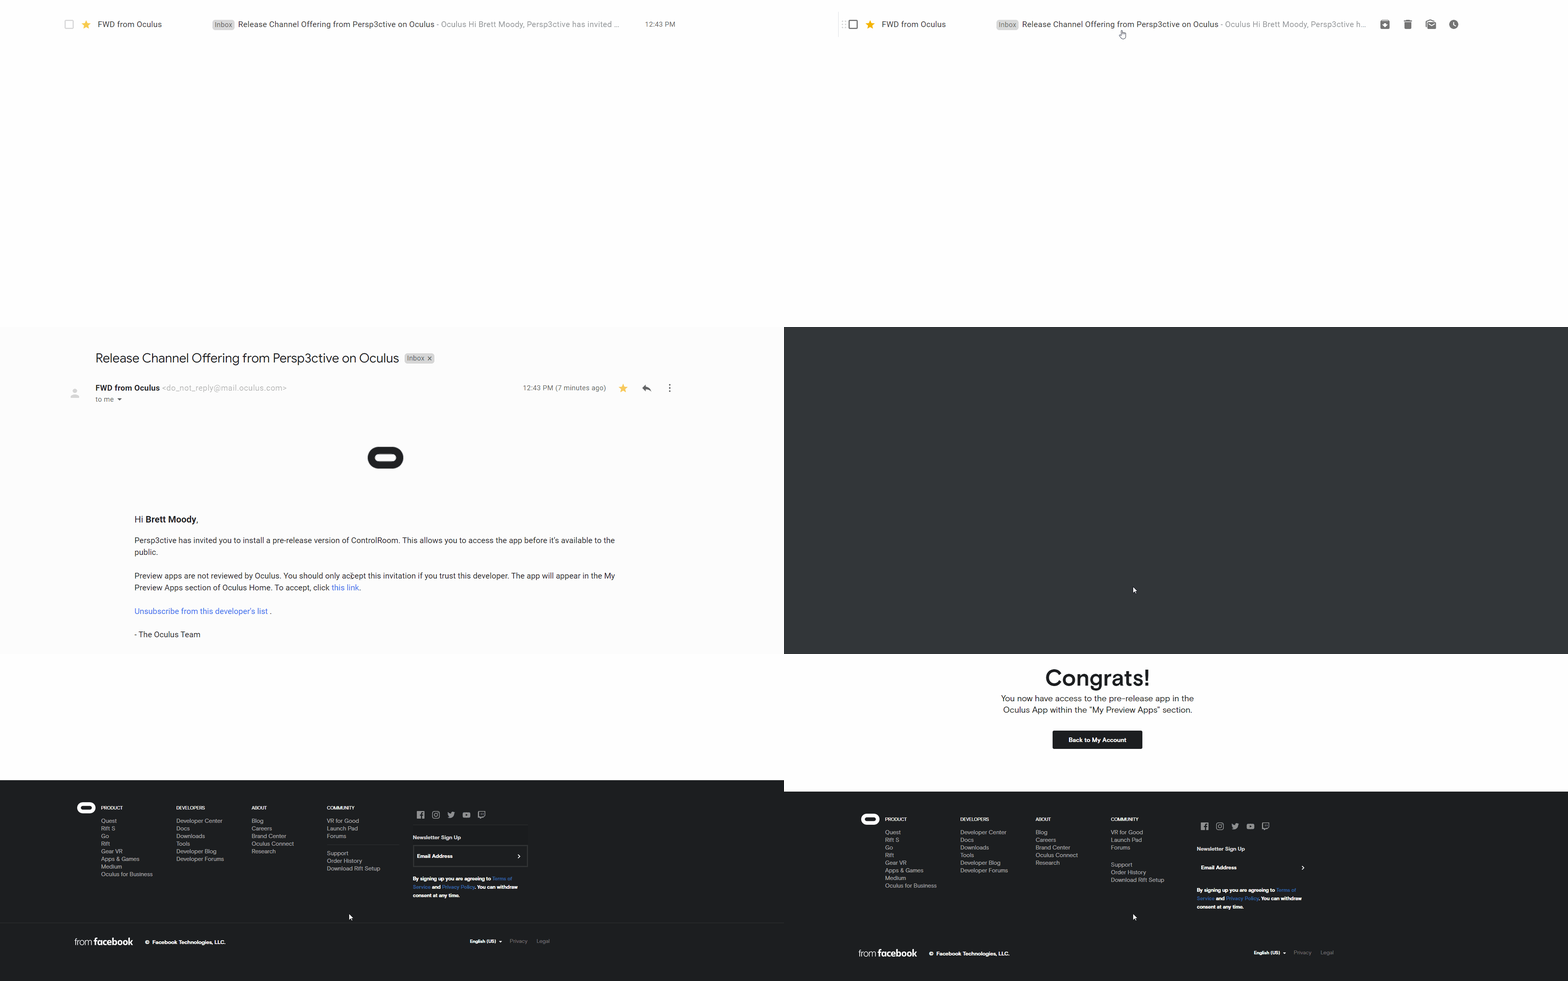
Within one business day of sending your request, you should receive an Email from Oculus that contains a link to ControlRoom for Quest. Open the Email and accept it.
|
| Expand | ||
|---|---|---|
| ||
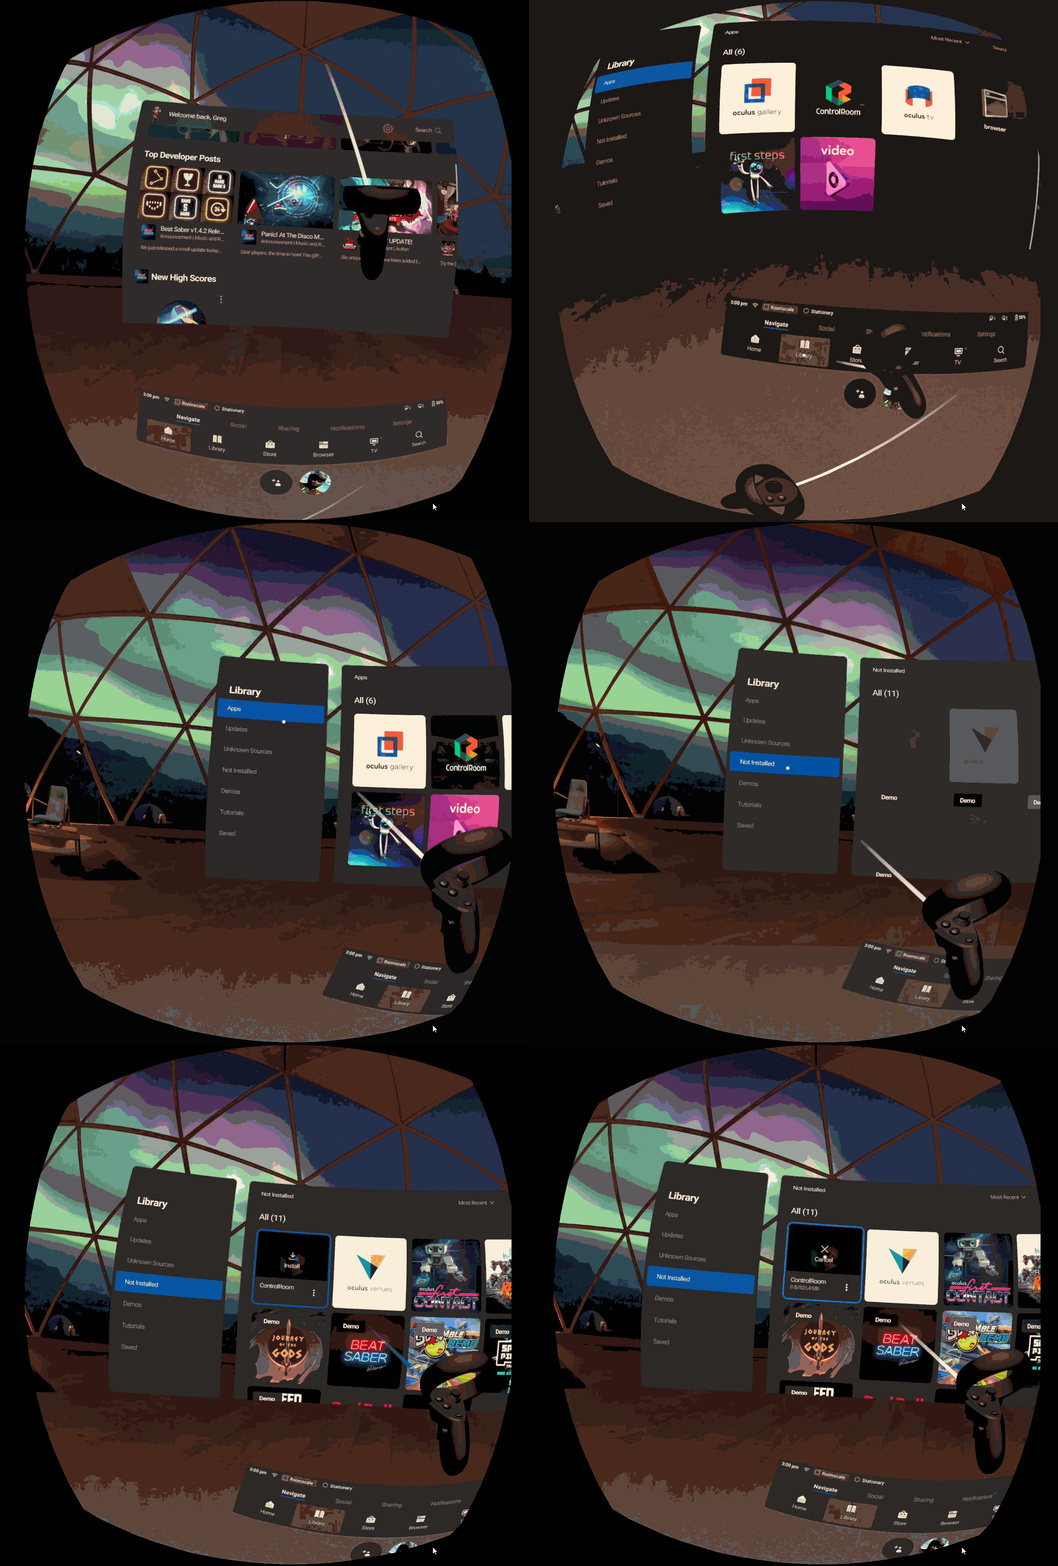
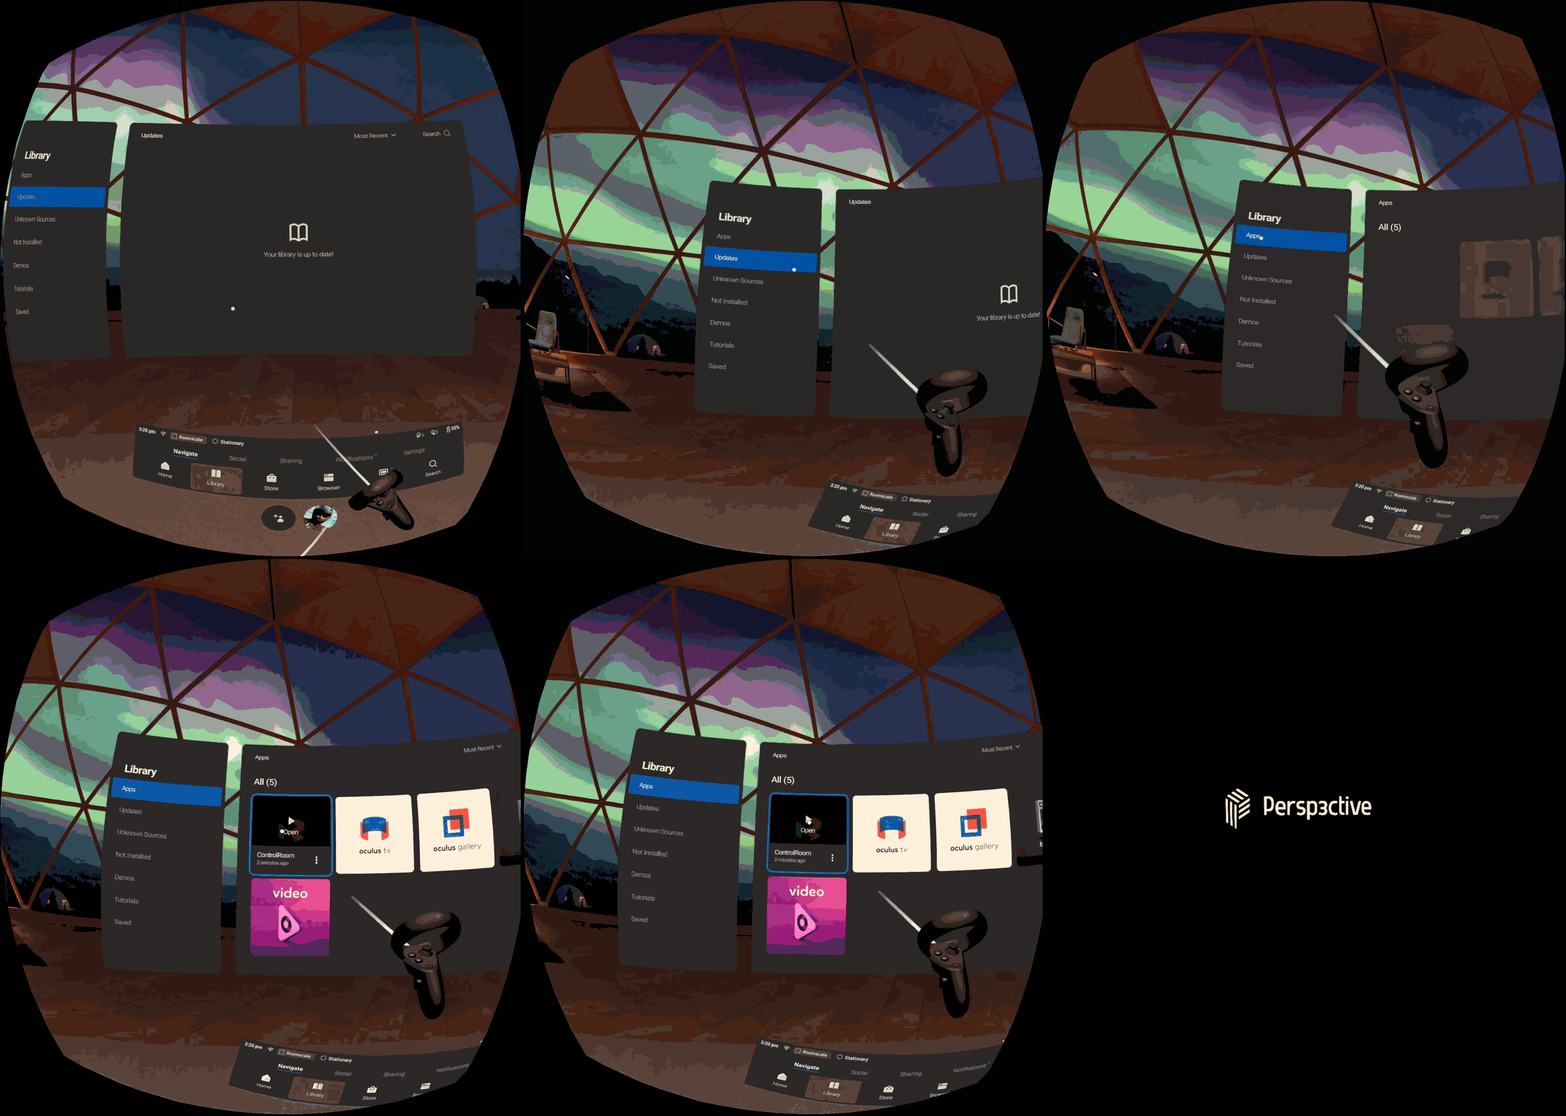
A: Within the Quest, navigate to your “Library,” click “Not Installed” and then select ControlRoom. Click Download. B: Within the Oculus Library, navigate to the “Apps” tab and press, “Launch.” |
Step
...
Four: Connect VR to the Hub
| Tip |
|---|
Click here for instructions to connect VR to the Hub |
...
Have more questions about this process? Check out our FAQ page.
...


