This guide assumes that you have already:
If you are using ControlRoom VR:
If you are using ControlRoom Mobile:
If you have not completed the above steps, please visit the ControlRoom Setup Overview
Detailed Setup Instructions
Please note, ControlRoom Hub must be running to maintain the connection with Ableton Live. It can be minimized, but not closed.
Map ControlRoom Midi Tools to any parameter in Ableton
There are numerous tools in ControlRoom that can be mapped to control any parameter in Ableton, including your favorite third party plugins. Follow the steps below for an example of how to map the FX Cube to a few plugin parameters in Ableton.
It’s helpful here to use Command-Tab (Mac) or Alt-Tab (Windows) to quickly switch back and forth between the Hub and Ableton windows.
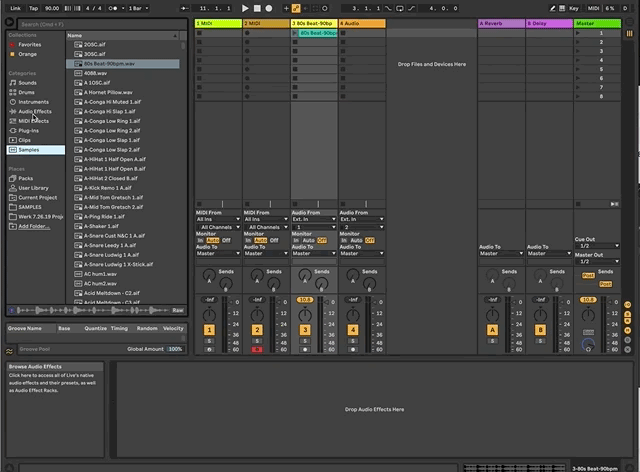
For this example, let’s first add a simple drum loop to an audio track in Ableton. For simplicity, choose “80s Beat-90bpm.wav”, a sample included with Ableton Live.
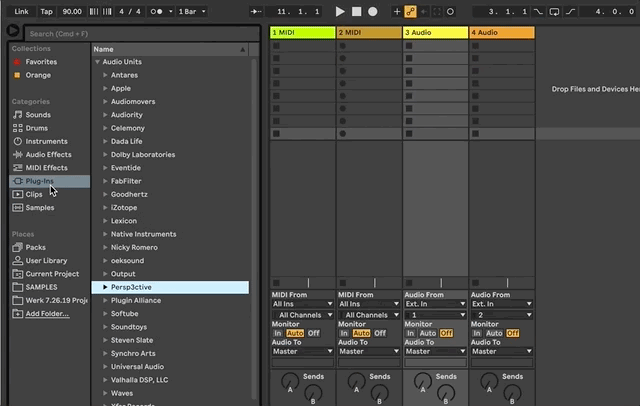
Next, add a Grain Delay and a Reverb to this same track.
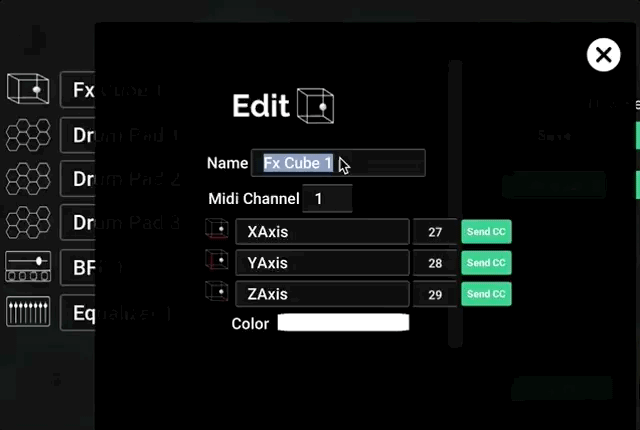
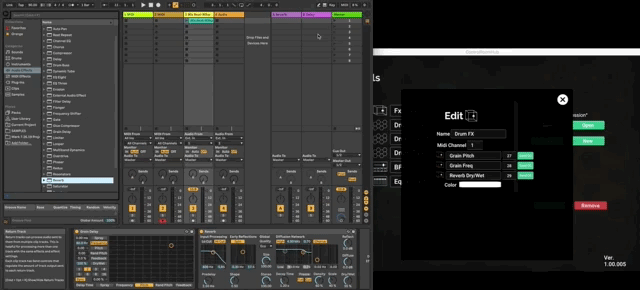
For this example, label them as follows:
Name: “Drum FX”
X Axis: “Grain Pitch”
Y Axis: “Grain Freq”
Z Axis: “Reverb Dry/Wet”
Back in Ableton, switch to Midi Map mode by clicking the MIDI button at the top right of the Ableton window, or by using the keyboard shortcuts Command-M (Mac) or Control-M (Windows)
Click the Pitch parameter in the Grain Delay window. This selects it with a rectangle.
Switch back to the Hub, and click the first Send CC button to map the X axis to Grain Delay Pitch
Switch back to Ableton, and click the Frequency parameter in the Grain Delay Window to select it
Switch back to the Hub, and click the second Send CC button to map the Y axis to Grain Delay Frequency
Follow suit to map the reverb.. In Ableton, click the Reverb Dry/Wet parameter to select it, and in the Hub click the third Send CC button to map the Z axis to Reverb Dry/Wet
In Ableton, you should now see three items in the Midi Mappings panel on the left.
If you do not, please review the previous steps to be sure you haven’t missed anything.
Exit Midi Map mode by clicking the MIDI button at the top right of the Ableton window, or by using the keyboard shortcuts Command-M (Mac) or Control-M (Windows)
Remember to press the PURPLE panel when Midi mapping. For example, if you are MIDI-mapping pitch in the Grain-Delay, press the box that includes the current pitch, not the box that says, “Pitch.”
We recommend that you save your ControlRoom Hub session early and often any time you are mapping midi tools to Ableton.
Have more questions about this process? Check out our FAQ page.
Still have questions about setting up the Hub or have suggestions about how we could improve this page? Try our customer service portal.