In this page, we will discuss the steps you need to take to install the Virtual Reality component of ControlRoom on your Oculus Quest headset.
If you have already installed and launched the VR application on your Quest, please continue on to the Connect VR to the Hub page.
Step One: Purchase ControlRoom for Oculus Quest
Click this link to purchase ControlRoom for Oculus Quest.
Step Two: Submit your Oculus account email
Immediately after purchasing ControlRoom for Oculus Quest, you will receive an email containing a link to submit your Oculus account email. Click this link to have ControlRoom added to your Oculus Quest Library.
After submitting, ControlRoom will be added to your Quest Library within one business day.
Step Three: Accept Oculus Release Channel Request
Within one business day of sending your request, you should receive an Email from Oculus that contains a link to ControlRoom for Quest. Open the Email and accept it.
If you haven’t received the email after one business day, please reach out to us at info@persp3ctive.com rather than submitting another request. Thank you!
A: Within the Quest, navigate to your “Library,” click “Not Installed” and then select ControlRoom. Click Download.
B: Within the Oculus Library, navigate to the “Apps” tab and press, “Launch.”

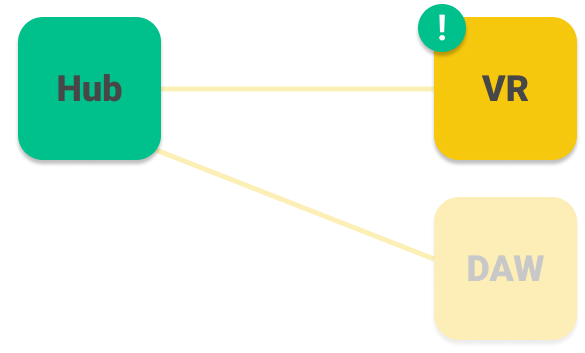
Step Four: Connect VR to the Hub
Have more questions about this process? Check out our FAQ page.
Still have questions about setting up VR or have suggestions about how we could improve this page? Try our customer service portal.