
Overview
To fully set up ControlRoom Mobile with your DAW, there are four simple steps:
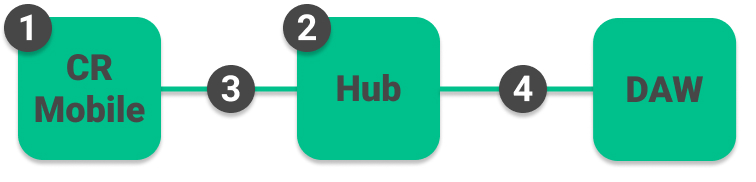
Install ControlRoom Mobile on your iOS or Android device.
Connect ControlRoom Mobile with the Hub
Setup Steps
1. Install ControlRoom Mobile
Purchase ControlRoom Mobile for iOS
or
Purchase ControlRoom Mobile for Android
2. Install ControlRoom Hub on your DAW Computer
Visit persp3ctive.com and enter your email to download the free ControlRoom Hub desktop app.
3. Connect ControlRoom Mobile to the Hub
| Info |
|---|
For a successful connection, your phone and your DAW computer running ControlRoom Hub must be connected to the same wifi network. |
| Expand | ||
|---|---|---|
| ||
Once you have launched the app and passed the introductory screens, go to the Settings page by clicking the Gear icon at the bottom left.   |
| Expand | ||
|---|---|---|
| ||
 |
| Expand | ||
|---|---|---|
| ||
With both the Hub and ControlRoom Mobile open, and both devices on the same wifi network, each will detect the other. All you need to do is toggle on the detected Hub in the mobile app, and toggle on the detected mobile app in the Hub. 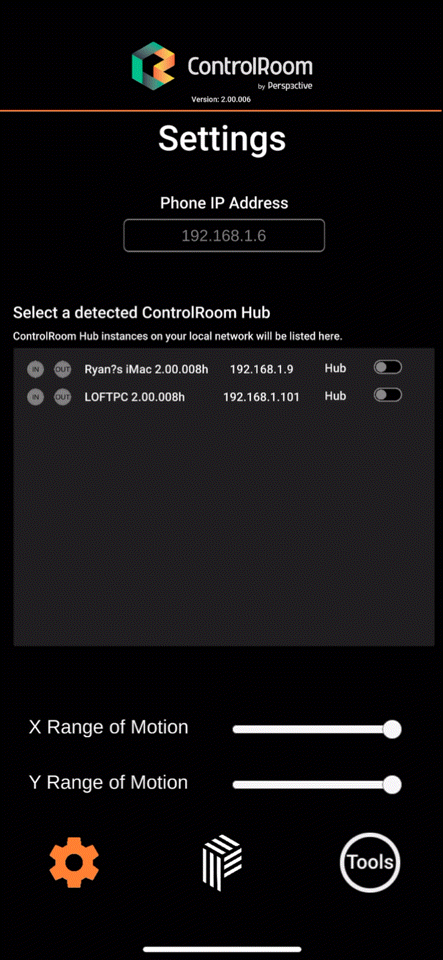   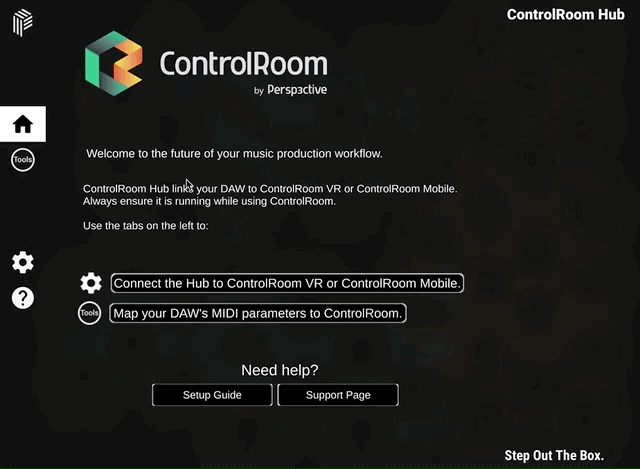 |
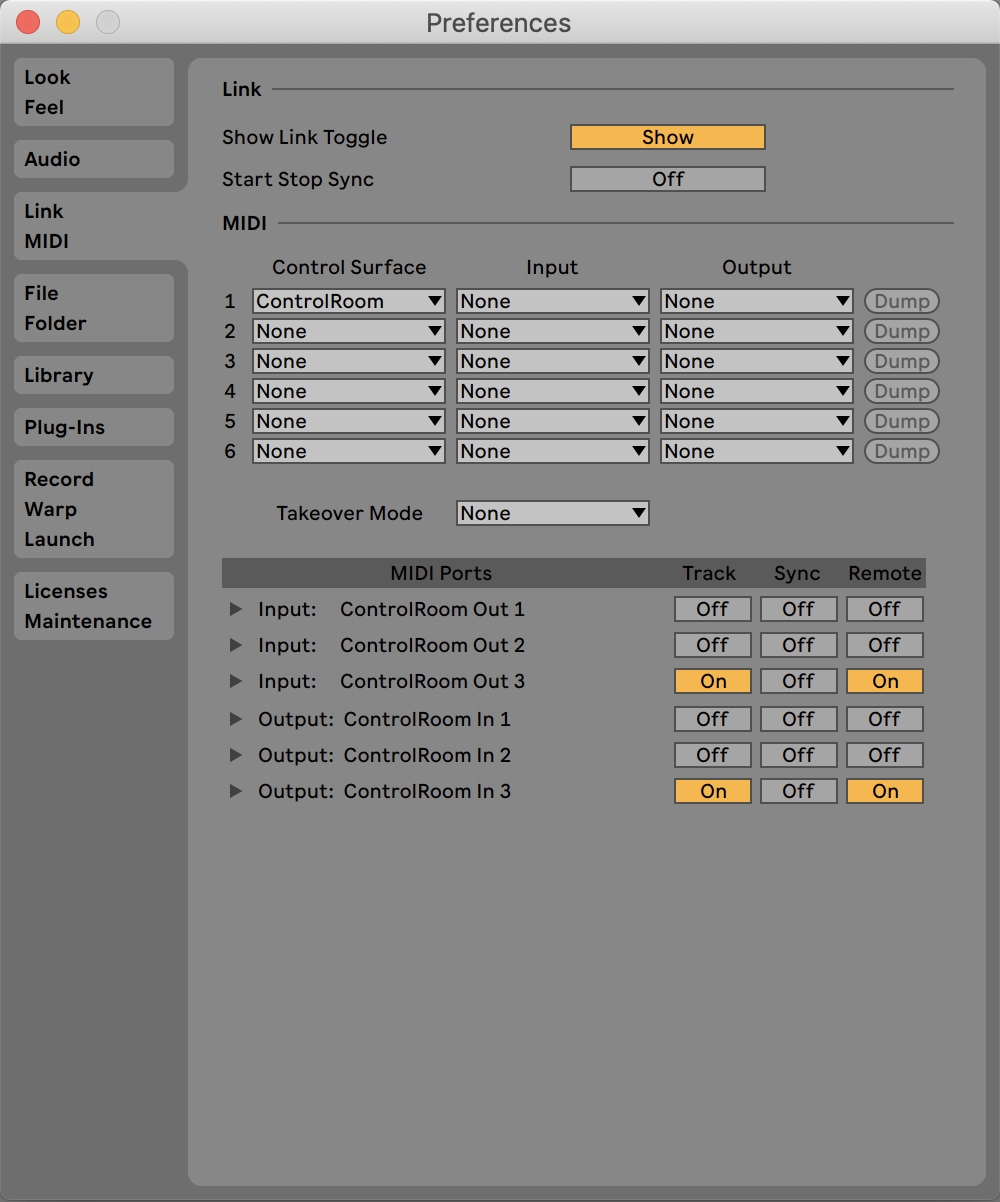
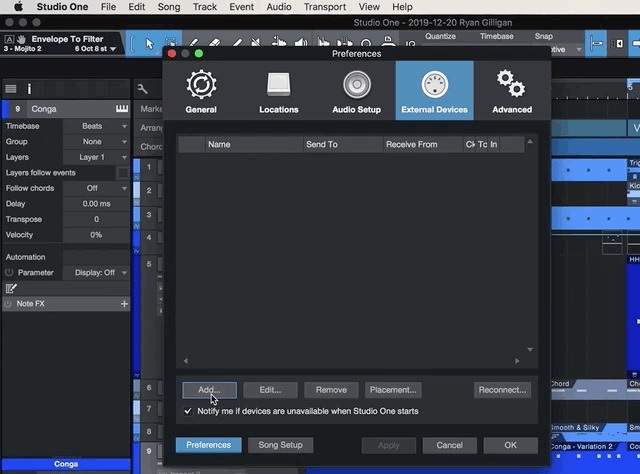
4. Configure your DAW MIDI settings to work with ControlRoom
| Note |
|---|
Please note, ControlRoom Hub must be running for this step. |
| Tip |
|---|
Once you have configured your DAW MIDI settings by following the steps here, please follow the link for your DAW at the very bottom of this page for a MIDI-mapping tutorial. |
| Expand | ||
|---|---|---|
| ||
 |
| Expand | ||
|---|---|---|
| ||
 |
| Expand | ||
|---|---|---|
| ||
 |
| Expand | ||
|---|---|---|
| ||
 |
| Tip |
|---|
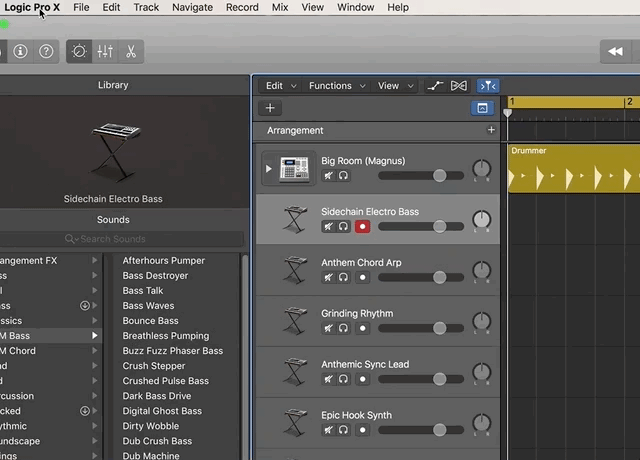
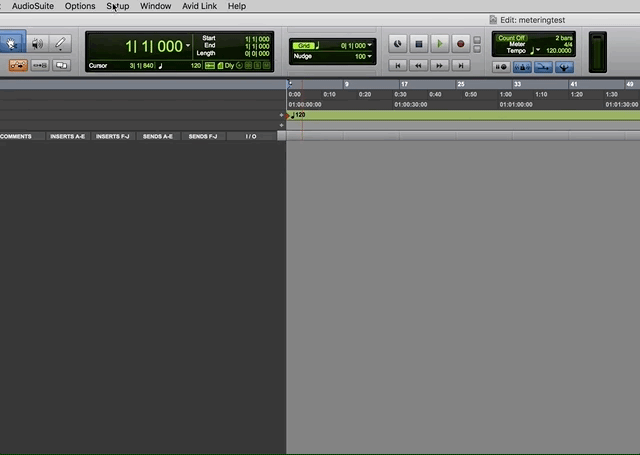
After you have completed the above steps, follow the links below for a walk-thru of MIDI-mapping for your DAW.Ableton LivePro ToolsLogic (coming soon)Studio One |
| Info |
|---|
After completing the guide, do you have additional questions or have suggestions about how we could improve this page? Check out our FAQ and Customer Service Portal. |