
In this page, we will discuss the steps you need to take to connect ControlRoom VR to ControlRoom Hub on your DAW computerguide you through connecting the VR app to the Hub.
| Tip |
|---|
These steps are important, please do not skip. |
Overview
Launch the ControlRoom VR application on your headset.
Watch the intro video and complete the in-app tutorial.
. |
Follow DAW setup instructions for your DAW of choice.
Assumptions
This guide assumes that you have already:
- Completed Installed the Hub and Plugin Installation, which is the first step in the ControlRoom SetupPlugins
- Installed the VR app on your VR Headset
Detailed Instructions
| Expand | ||
|---|---|---|
| ||
If you need assistance with this step please refer to the pages here: |
| Expand | ||
|---|---|---|
| ||
A. Use the trigger button on your right controller to point and select the Play button to watch the intro video. 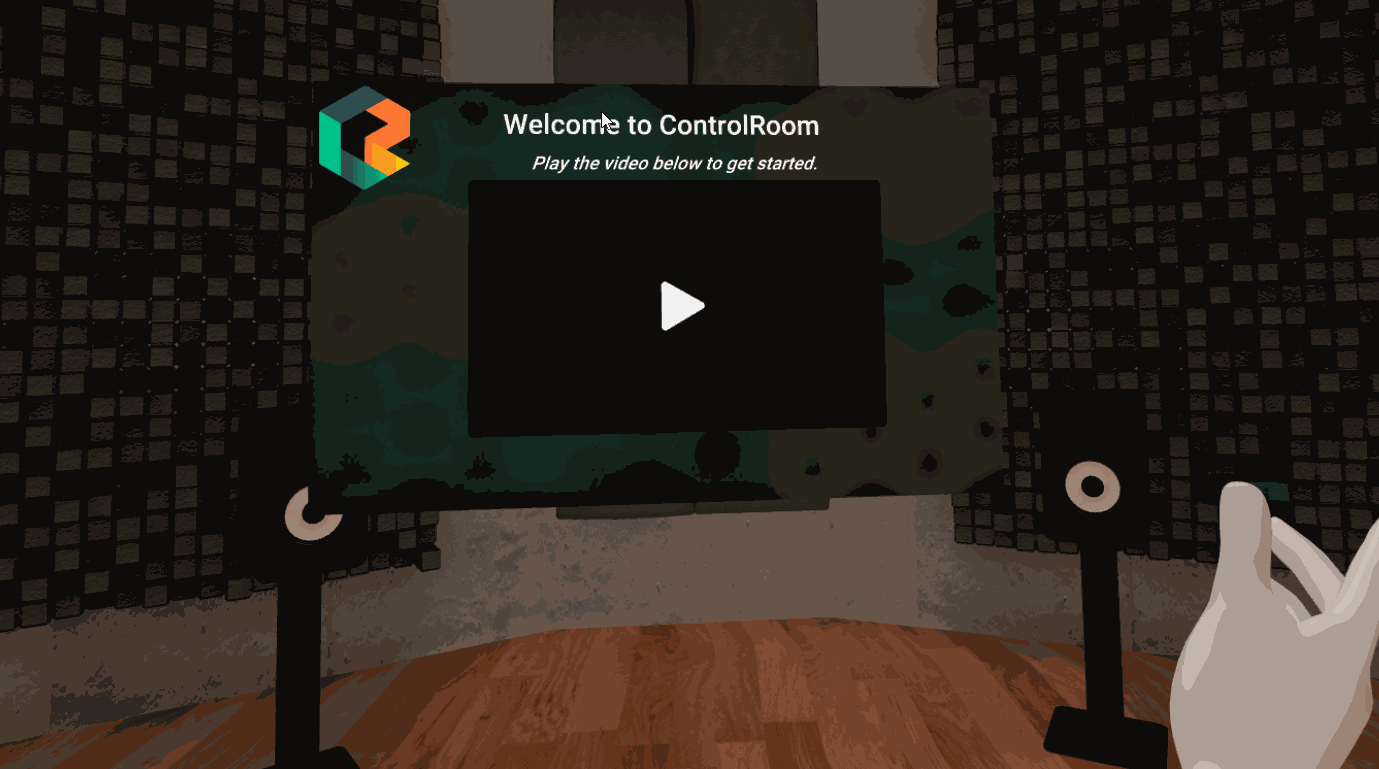 B. After the video has finished, start the tutorial by selecting the button in front of you. |
| Expand | ||
|---|---|---|
| ||
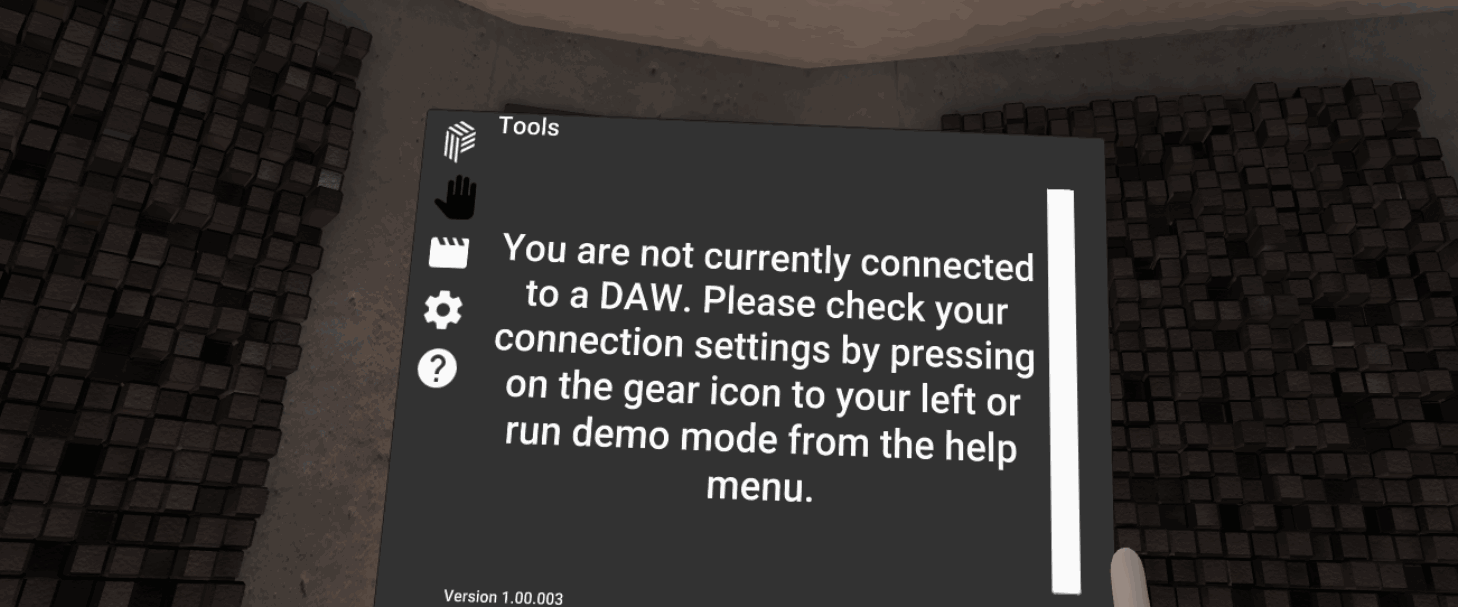
At the conclusion of the tutorial, you’ll have options to enter Standalone Mode or DAW Control Mode. A. Enter DAW Control Mode to be able to control your DAW from VR. B. Open the menu, and then the Settings page by selecting the Gear Icon. |
| Expand | ||
|---|---|---|
| ||
At this point, the VR application is ready to connect to ControlRoom Hub. If you have already installed and launched ControlRoom Hub on your Studio DAW Computer, continue to Step Five below. If you have not yet installed and launched ControlRoom Hub on your Studio DAW computer, please do that now. Follow this link for instructions. |
| Expand | ||
|---|---|---|
| ||
|
| Expand | ||
|---|---|---|
| ||
If the auto connect in the previous step was successful, you can skip this step.
A: Within the Hub, navigate to the Settings Page, and then select the Network tab. 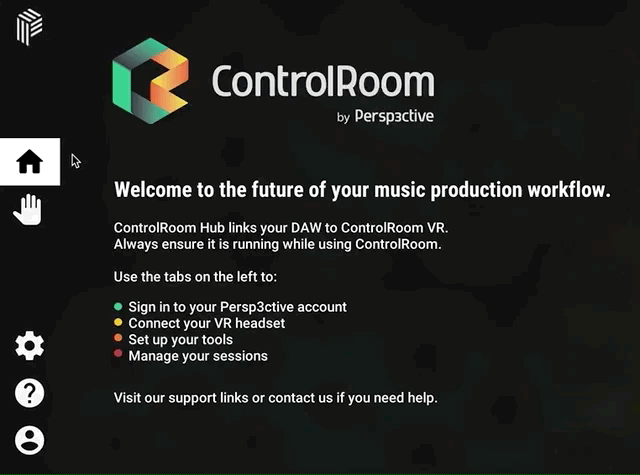 B: Note your Hub IP address: 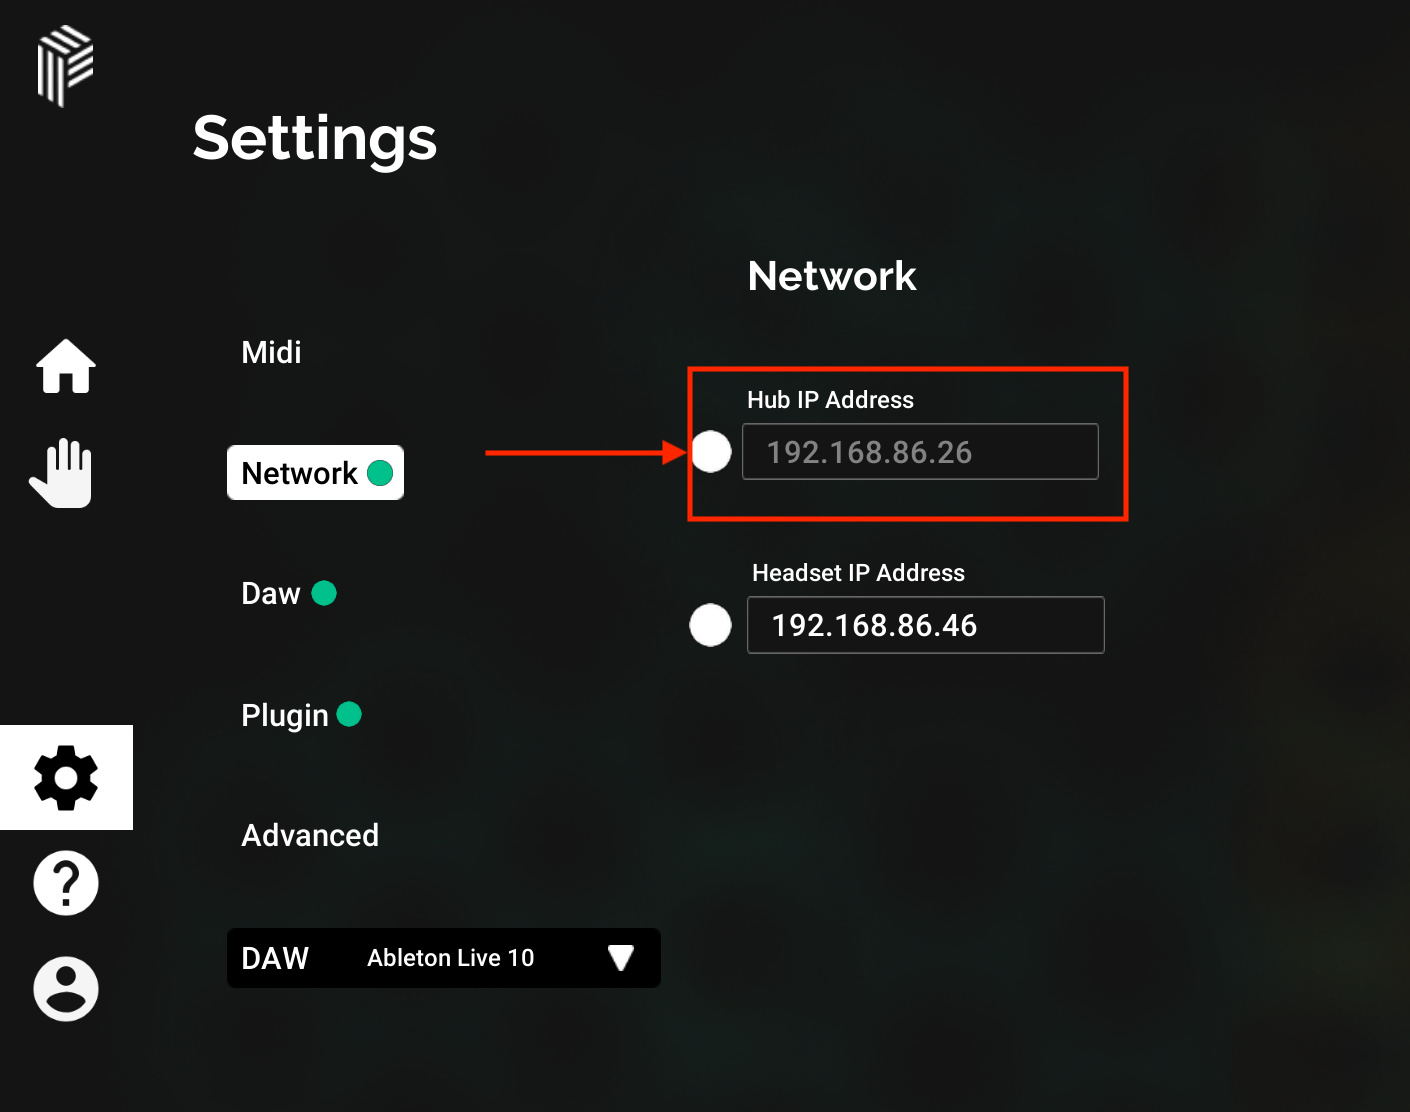 C: Enter this Hub IP Address into the corresponding field in the VR application.
D: In VR, Note the Headset IP Address. 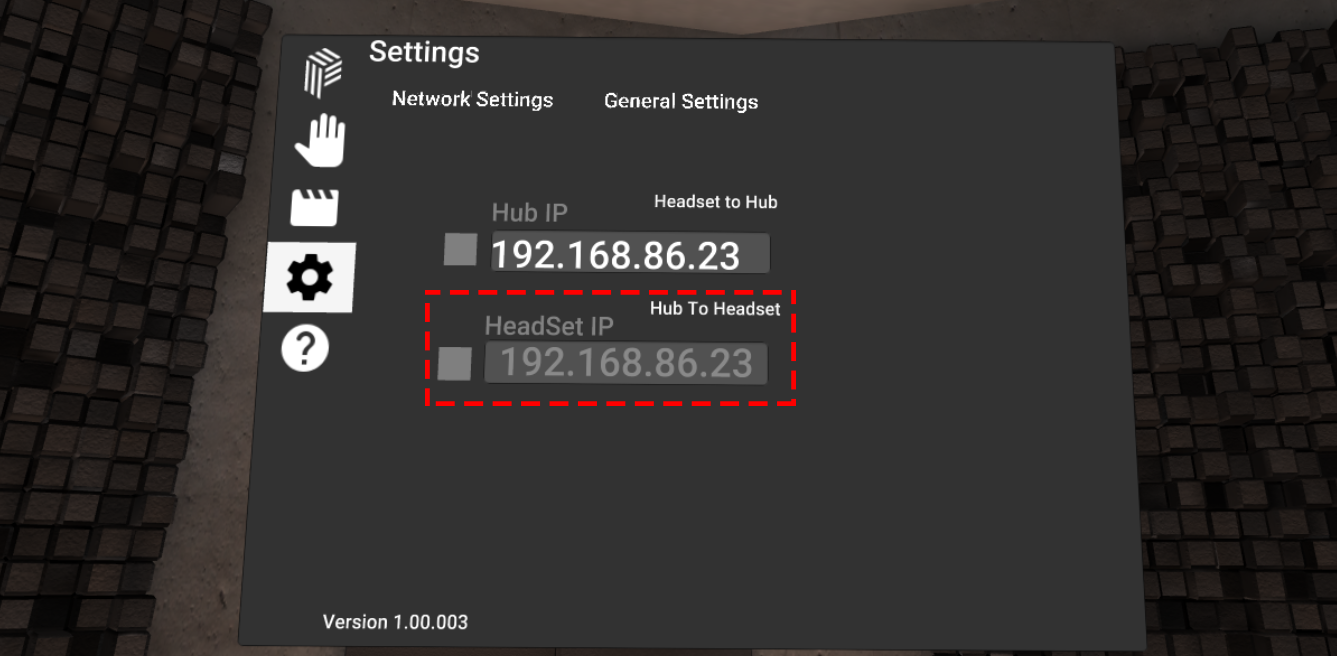 E: Enter this Headset IP Address into the corresponding field in the Hub. 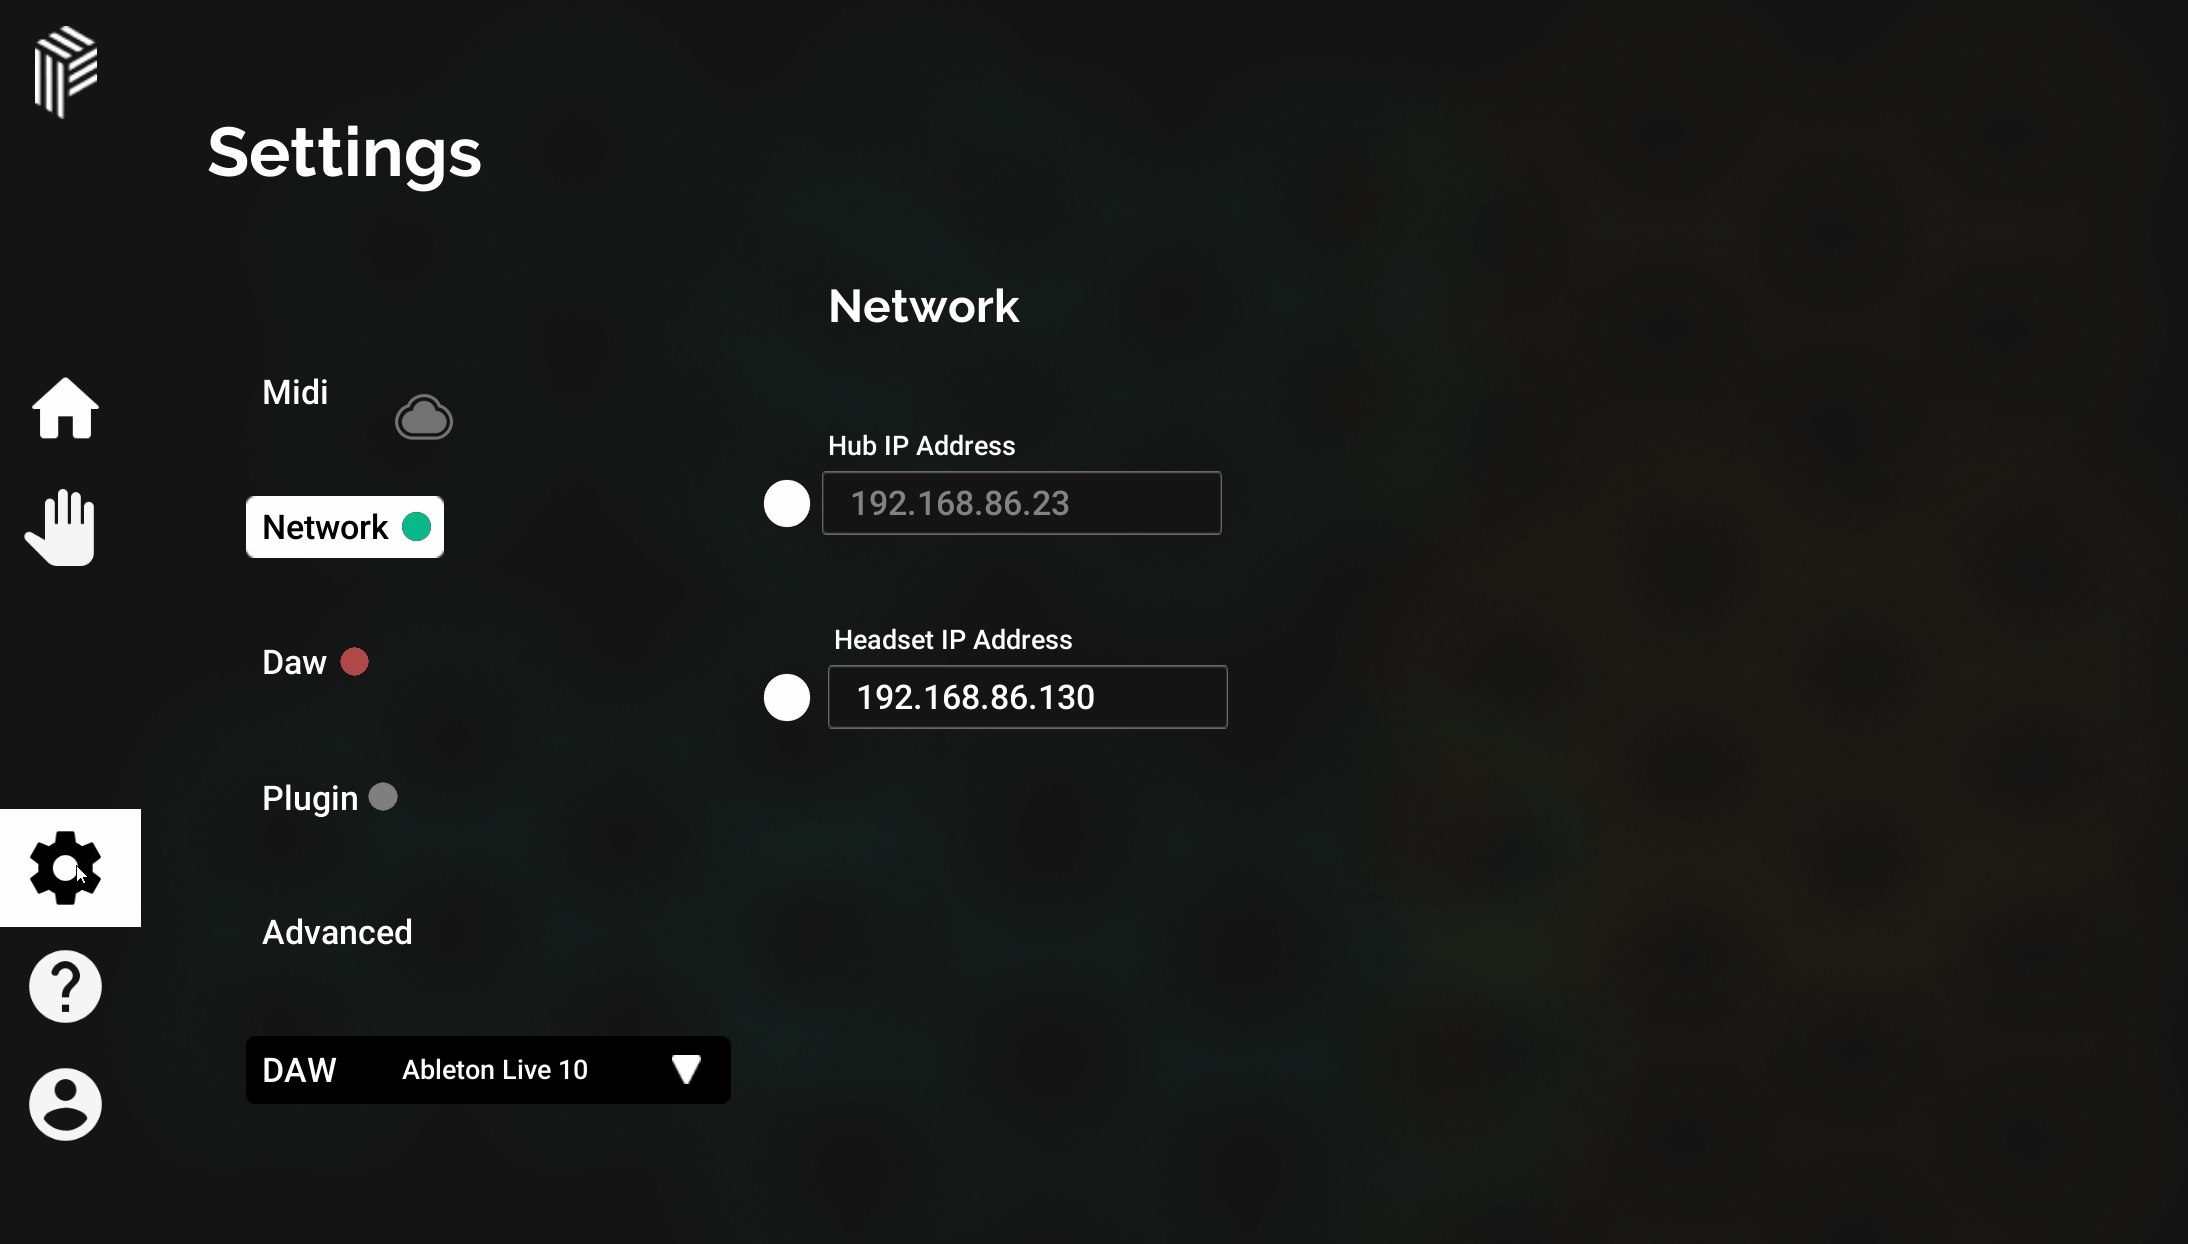 If you are using a PC-connected headset like Oculus Rift, and ControlRoom Hub is running on that same PC, your Hub IP and Headset IP will be identical. |
Next, select which DAW you’d like to use with ControlRoom:
(before proceeding, you must complete the setup steps on this page)
| Info |
|---|
Ableton Live |
| Info |
|---|
Pro Tools |
TL;DR
Launch the ControlRoom VR application on your headset.
Watch the intro video and complete the in-app tutorial.
Connect your VR headset to ControlRoom Hub.
Follow DAW setup instructions for your DAW of choice.
Have more questions about this process? Check out our FAQ page.
| Info |
|---|
Still have questions about setting up VR or have suggestions about how we could improve this page? Try our customer service portal. |